Getting Start
Get started with SellAnywhere Buy-Button application.Administration Area.
You need to be authorized to View this Content.
Login & Password setting.
You need to be authorized to View this Content.
htaccess protection.
Make your Admin area more secure adding a htaccess login/password protection
Go to Admin area > Configuration > Back-office protection to double secured your back-office.

If everything is done successfully a password prompt as below will come up when you try to access the admin directory.
You will only be allowed in if you enter a correct username and password.

Store setting.
- Connect to your adminstration area.
-
Go to Admin area > Configuration > Global Settings.
In “Your Store” section:

Email(s) setting.
- Connect to your adminstration area.
-
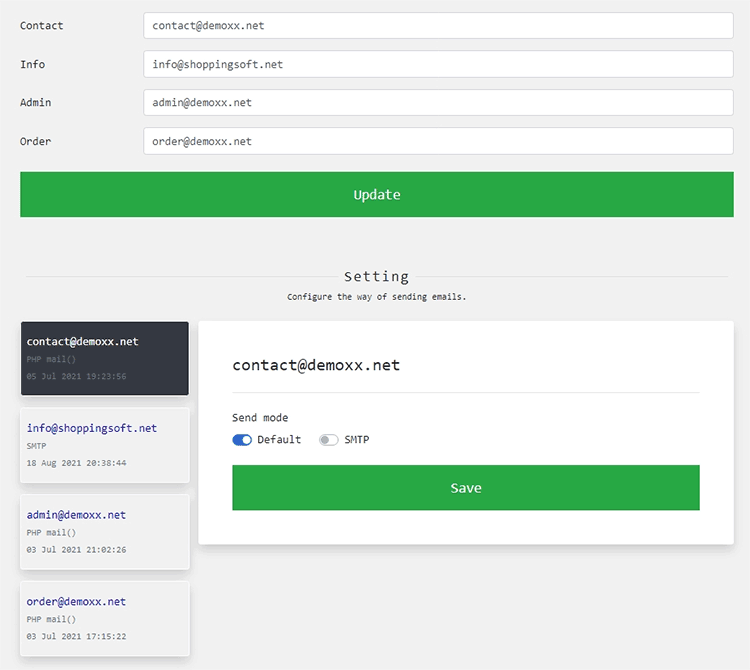
Go to Admin area > Configuration > Emails Setting.
 Note You can use any king of emails (hotmail, gmail, Outlook...) as long as they are valid.
The application does not create email address!
If your domain name is "example.com", you should create an email address named myname@example.com and enter that email address.
Contact your web hosting provider for more information.
Logo setting.
In your admin area, upload your logo to Admin area > Configuration > Global Settings.
In the “Your logo” section.

Create buy-button.
- First add your products or services to Admin area > Add > Product & Service.
- Then go to Admin area > SellAnywhere button Builder and follow instructions.
- Copy the generated HTML code paste it beside your product/service in the corresponding page of your web site.